Ever looked at a photo and thought, "I wish I could hold this in my hands"? Well, guess what? With today's amazing technology, you can! Transforming your favourite 2D pictures into tactile, physical 3D printed objects is not just possible—it's also incredibly fun.
This guide will walk you through the entire process, from choosing the right photo to hearing the sweet hum of your 3D printer. We’ll demystify the image to 3D model tools that make it all possible, making it a breeze for anyone to start creating.
So, What Exactly Are Image to 3D Model Tools?
Think of these tools as magical bridges between the flat world of photos and the dimensional world of 3D. They use clever algorithms (often powered by AI) to analyze your 2D image and guess the depth and shape, effectively "extruding" it into a 3D model.
Some tools, like AI generators, work their magic from a single photo in seconds. Others, using a technique called photogrammetry, create highly accurate models by analyzing dozens of photos of an object from different angles. The key is finding the right tool for your project.
Starting Strong: Choosing the Perfect Photo
You can't bake a great cake with bad ingredients, and the same goes for 3D model conversion. The quality of your photo makes all the difference. Here’s what to look for:
- Great Lighting & Contrast: A well-lit photo with clear shadows helps the AI understand the object's form.
- A Simple Background: A cluttered background confuses the software. A plain, contrasting wall is perfect.
- An Object with Obvious Depth: Choose subjects that are naturally three-dimensional, like a statue, a pet, or a car. Flat images like a company logo are trickier.
- A Clear Side Profile: For many AI tools, a side-view photo works best for generating a good 3D shape.
Your Step-by-Step Journey to a 3D Print
Ready to dive in? Let's break down the process into four manageable steps.
Step 1: Pick Your Digital Sculpting Assistant
First, you need to choose your weapon! There's a whole ecosystem of image to 3D model converters out there. Here are a few fantastic options:
- For Speed & Simplicity (AI Tools): Tools like Meshy, Alpha3D, or Tripo.ai are brilliant. You upload a photo, and they generate a 3D model in under a minute. Perfect for beginners and for creating quick models for games or simple prints.
- For Pinpoint Accuracy (Photogrammetry): If you need a highly detailed and precise model, software like Meshroom (free!) or RealityCapture is the way to go. They require more photos and computing power but deliver stunning results.
- For Mobile Ease (Apps): Love using your phone? Apps like Polycam let you scan objects or convert photos directly from your mobile device.
Step 2: Work the Magic - Convert Your Image
This is the easiest part! Once you've chosen your tool, the process is typically straightforward. Navigate to their website or open the app, upload your carefully chosen photo, and hit the "Generate" button. Sit back and watch as the AI performs its 3D model conversion wizardry. In moments, you'll have a digital 3D model ready for the next step.
Step 3: The Essential Cleanup & Repair
This is the secret sauce for successful 3D printing. Models straight from an AI 3D generator are often not "watertight"—meaning they might have holes, paper-thin surfaces, or messy geometry that will confuse a 3D printer.
Don't worry; fixing this is easier than it sounds. You'll use a free program like Blender or the browser-based Tinkercad to:
- Repair the Mesh: Use automated tools to fill holes and create a solid, "manifold" model. Think of it as making sure your digital object has no gaps in its surface.
- Add a Base: Many generated models are floating in digital space. Adding a solid base plate will ensure your print doesn't tip over.
- Smooth it Out: Sometimes, the model can be a bit blocky. Use smoothing brushes or tools to clean up the surface.
Step 4: Slice It and Make It Real!
You're on the home stretch! Now, you need to translate your repaired 3D model into a language your printer understands. This is called "slicing."
Open your slicer software—Ultimaker Cura and PrusaSlicer are excellent free options. Import your model, and the software will slice it into hundreds of thin horizontal layers. Here, you can set your printing preferences:
- Add Supports: For models with overhangs (like a statue's outstretched arm), you'll need to generate support structures.
- Choose Infill: This determines how solid the inside of your print will be. 20% is a good standard for most decorative items.
- Slice and Save: Hit the slice button and save the resulting file (usually a .gcode) to your printer's SD card.
- Then? Press print and watch your photo come to life!
Common Hiccups and How to Solve Them
- "My model is full of holes!" This is normal! Use the "3D Print Toolbox" in Blender or the repair tools in Microsoft 3D Builder (Windows) to automatically fix them.
- "The details are blurry." This often comes from a low-contrast or blurry original photo. Always start with the highest quality image you can.
- "The bottom of my print is messy." That's the support material! Carefully remove it with pliers, and use a little sandpaper to smooth the contact points.
Frequently Asked Questions
Can you turn any photo into a 3D model?
Technically, you can try! But photos of objects with good depth and a simple background work best. A flat picture of a painting won't work, but a photo of a sculpture will.
What is the best free image to 3D model converter?
For AI-based conversion, Meshy and Alpha3D offer great free tiers. For photogrammetry, Meshroom is a powerful free desktop software.
Why does my converted model need repair?
AI sees the world in shapes, not in "watertight" surfaces required by 3D printers. It creates a shell, which often has imperfections. Repairing it ensures your printer has a perfect blueprint to follow.
What's the difference between AI and photogrammetry?
AI generators imagine the 3D shape from a single 2D image—it's fast and creative. Photogrammetry calculates the shape from many 2D photos—it's slower but typically more accurate and detailed.
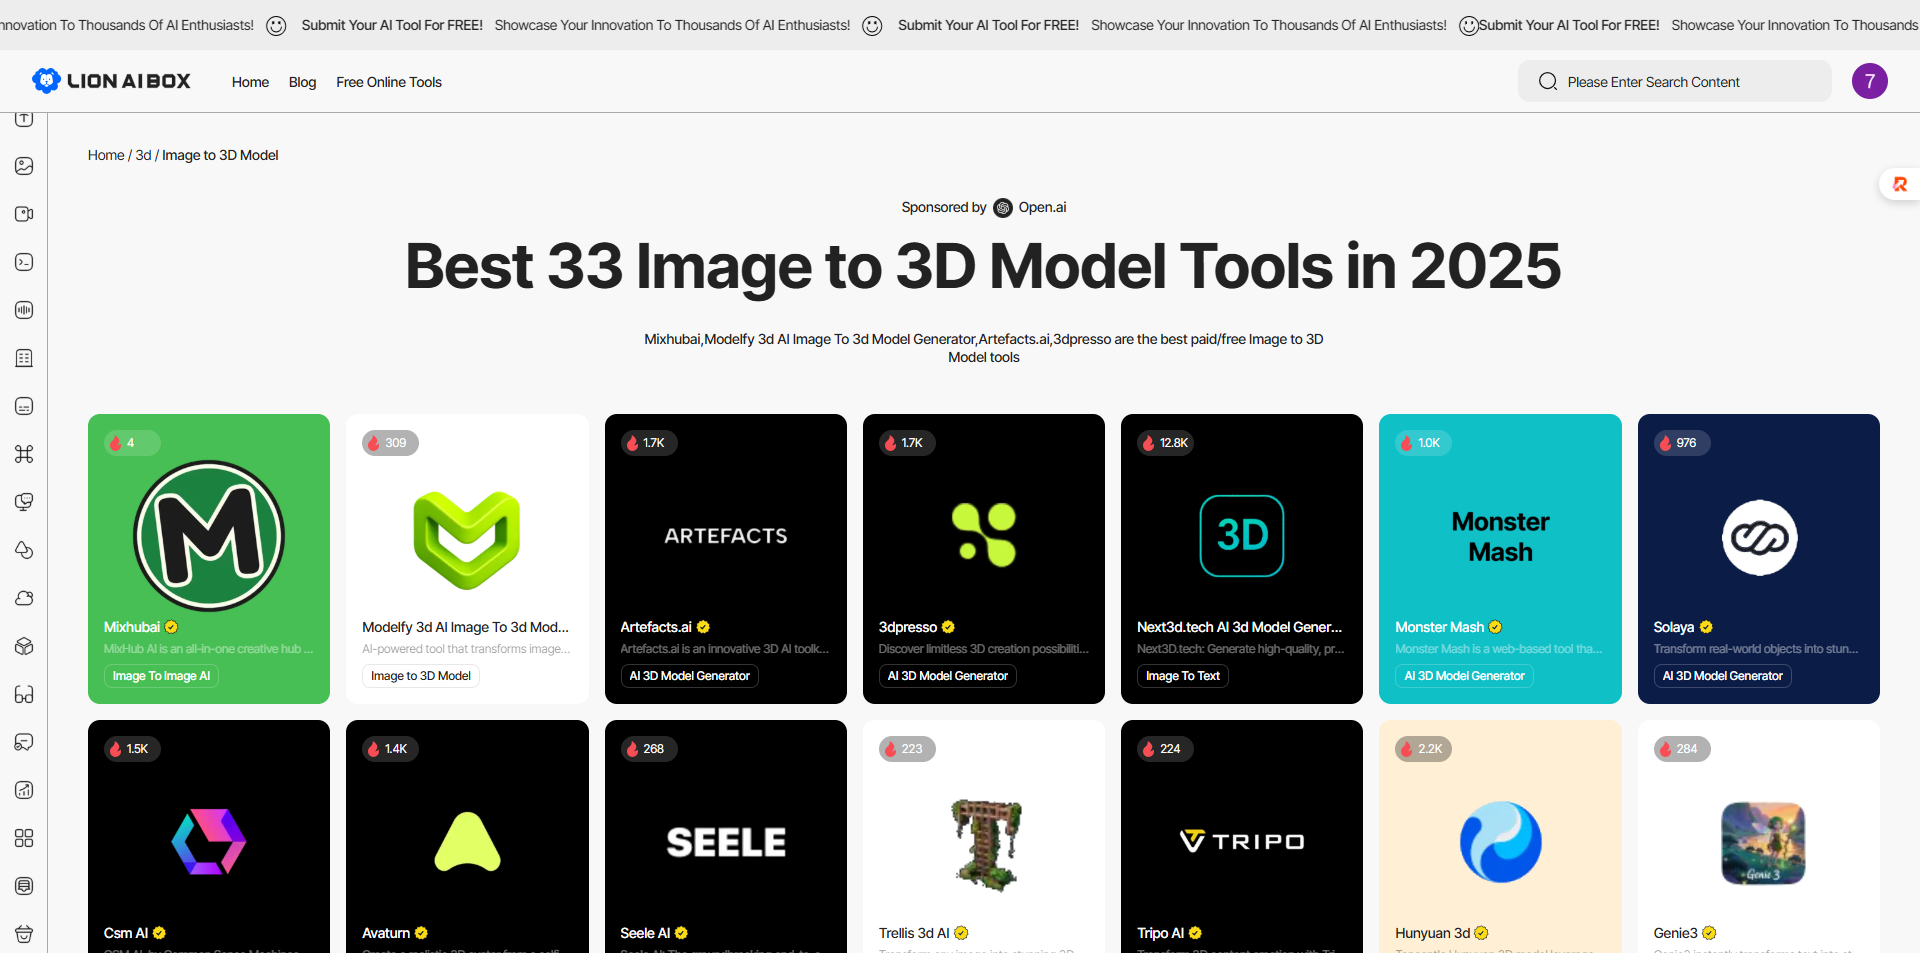
Ready to Start Your Next 3D Creation?
Now that you're equipped with the knowledge to turn any photo into a 3D print, it's time to put theory into practice. And the best place to start your journey is lionaibox.
Why waste time scouring the internet when you can find a comprehensive collection of top-tier AI 3D generators and image to 3D model tools all under one roof? At lionaibox, we connect creators like you with the innovative software needed to bring your ideas to life—quickly, easily, and efficiently.
Your perfect photo-to-3D tool is waiting. Explore the curated selection on lionaibox and print your imagination into reality!
 Submit Your AI Tool For FREE!Showcase Your Innovation To Thousands Of AI Enthusiasts!

No comments yet. Be the first to comment!